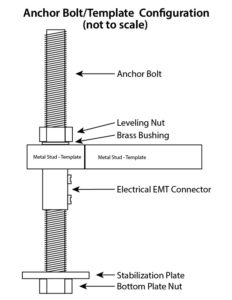
This is a simple step by step instruction on how the anchor bolt template works. The pit pour and anchor bolt placement is probably the most important step in preparing for the elevator’s arrival. It is on these anchor bolts that the elevator will sit, but do not be intimidated. We have a 100% success rate and have no doubt it will continue. Of course if you have any question on any of the steps feel free to contact your project manager. They will walk you through the process so the elevator installs with ease.
What Your Template/Anchor Bolt Package Includes:
- Anchor bolts with plate and nut at the bottom, EMT connectors as a depth guide and anchor nut.
- Template – Four color coded, metal studs pre-drilled for provided screws.
- Brass rings for template insertion.
If any of the above items are missing, do not proceed. Contact your project manager for further instructions. Do not proceed unless instructed by your project manager.
Step 1: Template and Anchor Bolts
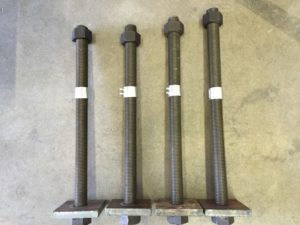
Bolts come in three sizes, 2 short, 1 medium and 1 long, this helps in the installation process. The electrical EMT connector should not be removed and be a stop under under the template (see diagram). They are there to provide depth guides. The depth of embedment is the same on all four bolts.
Step 2: Corner Attachment of Template
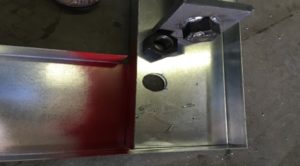
Pre-Drilled holes for provided screws. The template is square when screws are set at all four corners, and the anchor bolt holes line up.
Step 3: Anchor Bolt, Brass Ring Set in Template

Anchor Bolt set in template. Notice brass ring, set before setting of nut. Note: a minimum of 9 ½ “ of thread should be showing above template.
Step 4: Anchor Bolt with Bushing
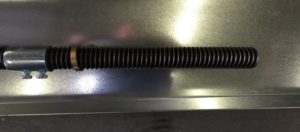
Electrical EMT connector acts as a stop under the template. Brass bushing fills oversized hole in template around anchor bolt.
Step 5: Template Placement
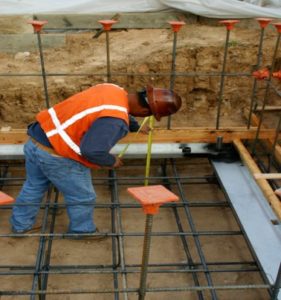
The bottom of the template is the top of the pit slab. Pit must be exactly 4 ft. deep with a level floor!!!!!
Step 6: Template with Backing
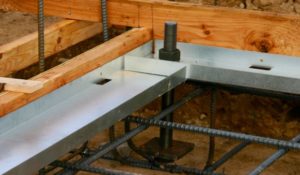
The nut holds the anchor bolt in place. The bolt must be tied off to rebar to ensure it is stable and plumb and will not move during the pour. This is the responsibility of the concrete contractor in cooperation with the general contractor.
Step 7: Template Prepared

Template is now centered in the pit. Note colors in template at the corners, corner colors will match. Template is now ready to have concrete poured.
Step 8: Ready

Completion of pit and view of bolt, ready to accept installation of elevator.
Again, if there is any confusion contact your project manager before you pour.


